
THE PERFECT VEGAN COCONUT YOGURT RECIPE.
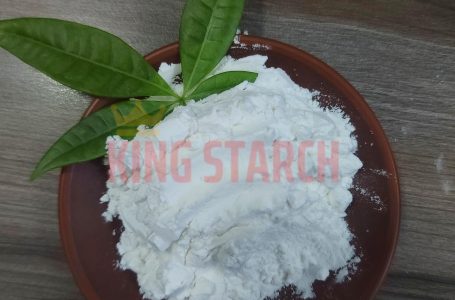
Tapioca flour (also known as tapioca starch) is a type of starch extract that’s derived from the vegetable called the cassava root. Although it is almost pure starch and nutritionally void, it is a popular gluten free and grain free flour and baking additive. Compared to other gluten-free flours, tapioca flour retains more water and that makes it an ideal binding and thickening agent.
Tapioca is the most common thickening agent used in commercial coconut yogurts today and for good reason. With its fine texture and mild, slightly sweet taste, it is a virtually undetectable thickening additive. It’s also vegan and has zero fat and sugar.
Unfortunately, coconut yogurt thickened with tapioca flour is temperamental. The gelling agent within this starchy flour is heat sensitive and requires a watchful eye. You need a thermometer and wire whisk for a guaranteed smooth and thick finish to your homemade coconut yogurt. Follow the heating instructions below and you won’t go wrong.
DO NOT OVERHEAT
It is essential that the combined coconut milk and tapioca flour are heated to only 140⁰F/ 60⁰C. At 140⁰F/ 60⁰C the texture of the coconut milk begins to change consistency, but it will not have congealed or thickened. Turn the heat off while it is still runny. If you have cooked with tapioca flour in the past it may feel counter intuitive to turn the heat off at this point because you know that cooking further would thicken the coconut milk (to an ideal yogurt consistency), however heating above 150⁰F will result in the coconut milk yogurt returning to a runny state after fermentation.
Do not judge the consistency of your coconut yogurt from what it looks like before it has been fermented in the yogurt maker. The 24-hour incubation continues to activate the tapioca and thicken it further. It is not until after the yogurt has chilled that it will be thick and creamy.
NOTE: If you do accidentally overheat the milk, don’t panic. There is absolutely no harm in eating (or drinking) this yogurt. It is still a fermented food packed with all the gut-loving goodness of a thicker ‘successful’ version!
WHISK CONTINUOUSLY
To ensure that the tapioca doesn’t develop lumps while it is being heated, it is best to gently and continuously whisk the mixture as it heats. This is especially necessary above 120⁰F.
CONSISTENCY
Homemade coconut yogurt thickened with tapioca will not separate afterit has chilled in the fridge. This is great news for those who have struggled with too much coconut water or coconut water separating from the milk in the past. Don’t expect your yogurt to taste or look exactly the same as the tapioca thickened store-bought varieties you are used too. Also, every brand of coconut milk varies in colour and taste. We recommend you experiment and find the brand you like the most.
HOW MUCH TAPIOCA?
A safe rule of thumb is to add 1 tablespoon of tapioca flour per 400ml can of coconut milk.
WHAT KIND OF COCONUT MILK SHOULD I USE?
When choosing coconut milk, always choose a brand that has only coconut listed in the ingredients – because coconut milk naturally separates, many have thickeners added. For best results choose additive free, BPA free and organic. Coconut cream has too much oil and will not make yogurt.
STARTER CULTURE
You will need a yogurt starter culture to introduce the fermentation of bacteria to your coconut milk. Use the amount of starter culture indicated on the packet. A good multi-strain probiotic or the contents of a capsule may also be used. Here is a comprehensive list of yogurt starter cultures.
FEED THE BACTERIA SUGAR
In traditional dairy milk yogurt, the bacteria in starter culture thrive on the sugar (lactose) content, naturally found in milk. The bacteria populating your coconut yogurt must have something to feed on to allow the culturing process to take place. One teaspoon of sugar or one tablespoon of pasteurised honey is enough to kick start fermentation. Raw honey may have an antibiotic effect and is therefore not suitable for making yogurt.
SWEETNING HOMEMADE COCONUT YOGURT
Coconut milk is naturally quite sweet but after a 24-hour fermentation the coconut milk takes on a yogurty tartness. Many store-bought coconut yogurts have added sugar or artificial sweeteners. To sweeten up your homemade coconut yogurt, we recommend adding healthy sweeteners, such as raw honey, maple syrup or fresh or stewed fruit to taste.
INGREDIENTS
3 cans coconut milk (additive free)
3 tablespoons of tapioca flour
1 teaspoon of white sugar or 1 tablespoon of pasteurised honey
Yogurt starter culture or the contents of a probiotic capsule
METHOD
1. Open the cans and pour all except 1/3 cup of coconut milk into a large saucepan.
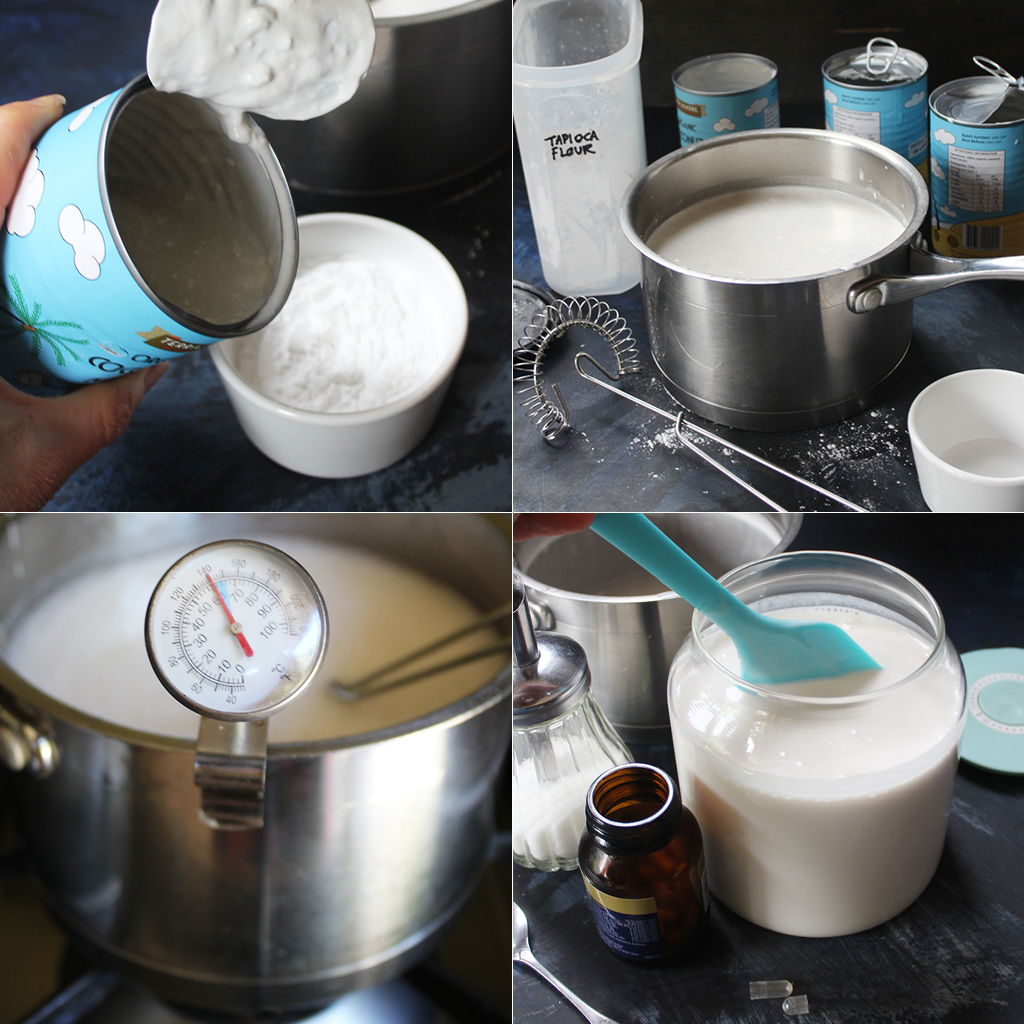
2. Pour the reserved coconut milk into a ceramic dish and add the tapioca flour.
3. Whisk with a fork until the tapioca is lump free and dissolved then pour the mixture into the saucepan.
4. Add the white sugar or honey.
5. Place the thermometer into the saucepan.
6. Place the saucepan on the stovetop and gently heat to 140⁰F/ 60⁰C to activate the tapioca.
7. Whisk the milk continuously as it heats.
8. Remove the pot from the heat when it reaches 140⁰F/ 60⁰C. The tapioca flour will not have thickened the coconut milk at this temperature.
9. Set the saucepan aside to cool 110° F (43° C). It is fine if the coconut milk cools down below 43°, it just mustn’t be too hot when adding live yogurt starter culture or probiotics. Temperatures above 43° C will kill the bacteria.
10. Pour the coconut milk into the glass yogurt making jar.
11. Add the starter culture and gently stir it in. Note: Each starter culture will come with different instructions. Please follow the instructions unique to your starter culture and use the amount specified. If using a probiotic, use the contents of 1 capsule.
12. Put the lid firmly on the jar and place into your yogurt maker.
13. Pour water slowly into the base. (The water must not go above the ‘tall line’ indicated on the inside wall of the maker). Place the cover lid on top.
14. Use the digital control panel to set the temperature to 38° C, the time to 24 hours and then press ‘confirm’ to begin incubation.
15. When complete, the coconut milk will have thickened into yogurt-like consistency, but it will be warm. Place the jar in the fridge for at least 6 hours to chill and set and then enjoy.
16. Consume within 2 weeks.